
How to Properly Paint with Alkyd-Urethane Hammer Enamel
How to Properly Paint with Alkyd-Urethane Hammer Enamel
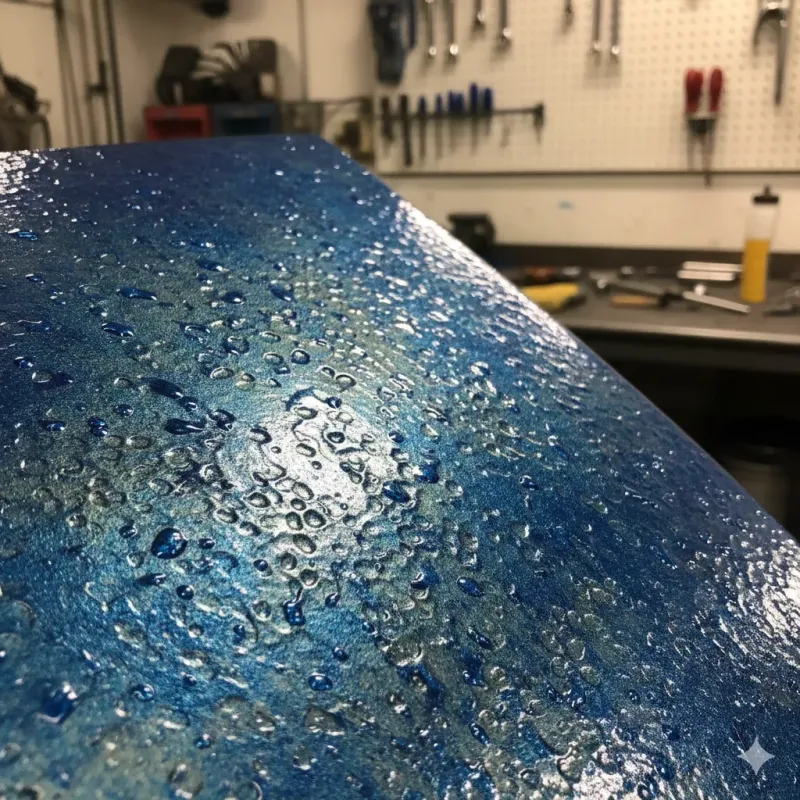
Alkyd-urethane hammer enamel is a popular decorative and protective paint with a characteristic "hammer" effect (textured surface with craters and sparkling aluminum particles). It combines anti-corrosion properties, high adhesion, and resistance to mechanical damage. It is most often used for metal (gates, fences, furniture, safes, tools, machinery, automotive parts), but is also suitable for wood, concrete, or plastic after proper preparation.
Advantages of Alkyd-Urethane Hammer Enamel
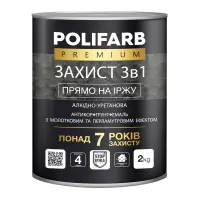
Can be applied directly onto rust (3-in-1: primer + anti-corrosion + finish).
Dries quickly (touch dry in 2–4 hours, fully dry in 24 hours).
Creates a strong, flexible coating with high gloss.
Resistant to water, UV, temperature fluctuations (up to +80–120 °C depending on the manufacturer).
Hides surface irregularities and minor defects well.
What You Will Need
Hammer enamel (alkyd-urethane)
Thinner: 3-in-1 solvent
Tools: natural bristle brush, short-nap roller, spray gun (nozzle diameter 1.4–1.8 mm), brush for corners
Protective gear: gloves, respirator, goggles, well-ventilated area
Sandpaper (P80–P220), wire brush, degreaser (solvent, acetone)
Surface Preparation (Most Important Stage!)
Clean the surface from dirt, grease, oil → degrease with a solvent.
Remove loose rust and peeling old paint (wire brush + sandpaper).
If old paint adheres firmly → lightly sand to a matte finish and test compatibility by applying a small amount.
For new metal or heavy rust — degreasing and removing loose rust is sufficient (many 3-in-1 hammer enamels do not require a separate primer).
The surface must be dry. Air humidity <80%, temperature +5…+25 °C (optimal +15…+20 °C).
How to Thin the Enamel
Most hammer enamels are ready to use, but they are often slightly thinned for better effect and ease of application:
For brush/roller — 0–5% thinner.
For spray gun — 10% (to the consistency of milk or thin cream). First, mix the enamel thoroughly (with a drill at low speed for 2–3 minutes), then add thinner in portions. Do not over-thin — otherwise, the "hammer" effect will be weak.
Application Technique (Best Result — 3–4 Coats)
The hammer effect appears precisely due to multi-layer application "wet-on-wet" or with short intervals.
Brush — the easiest way for a pronounced texture. Apply with thick, cross-cross strokes. Good for small parts.
Roller — gives a smoother coating, less texture. Use a short-nap roller (4–6 mm).
Spray Gun — provides the best effect, uniform craters, fewer streaks. Pressure 2–3 bar, distance 20–30 cm, 50% overlap.
Application Sequence:
Mix the enamel.
Apply the first coat — thin, penetrating (priming coat). Let it flash off for 15–30 minutes (until touch dry).
Second coat — thicker, the main coat. Interval 5–15 minutes (do not wait for it to dry completely!).
Third (and fourth if needed) coat — for maximum effect. Each subsequent coat is applied "wet-on-wet."
Total coating thickness — 80–150 microns (coverage 80–120 ml/m² per coat).
Do not try to apply everything in one go.
Drying Time (at +20 °C)
Touch dry — 1–4 hours.
Next coat can be applied — after 5–15 minutes.
Dry to the touch — 4–8 hours.
Fully dry — 24 hours.
Maximum hardness and resistance — 7 days.
Common Mistakes and How to Avoid Them
Greasy/damp surface → peeling.
Applied in one thick coat → weak effect, runs.
Excessive thinning → craters do not form.
Working in direct sun/heat → rapid drying, streaks.
Low temperature (<+5 °C) → slow drying, poor adhesion.
Where to Use
Ideal for: metal doors, safes, machinery, fences, garden furniture, garage doors, car wheels, tool cabinets.
If needed, after full curing (7 days), it can be coated with an alkyd-urethane varnish for extra gloss and protection.
Always follow the specific manufacturer's instructions.