
How to Properly Prime Walls Before Painting: Why Spots Appear and How to Avoid Them
How to Properly Prime Walls Before Painting: Why Spots Appear and How to Avoid Them
Priming is not just “another layer” — it’s a key step in preparing walls for painting. Without proper priming, paint applies unevenly, you use more of it, and spots, streaks, and peeling appear over time. In this article, we explain why priming is essential, how to apply it correctly, why spots often show up after painting — and most importantly, how to prevent them.
Why Prime Walls Before Painting?
Priming performs several critical functions:
Strengthens the substrate by binding loose dust, old putty, or plaster particles.
Evens out surface absorbency — concrete, drywall, putty, and old paint absorb moisture differently. Without primer, paint soaks deeply in some areas and sits on top in others → uneven color.
Improves adhesion (bonding) of paint to the wall — the coating lasts longer, doesn’t crack or peel.
Reduces paint consumption by 15–30 % — paint doesn’t sink into the pores.
Prevents spots from efflorescence, rust, old coatings, or mold.
Without priming, even the most expensive paint can go on patchy, especially on inconsistent surfaces.
How to Prime Walls Correctly: Step-by-Step Guide
Prepare the Surface Remove dust, dirt, grease spots (degrease with white spirit or a special cleaner), flaking old paint or putty. If mold is present — treat with an antiseptic. After sanding, sweep away dust with a dry brush or vacuum.
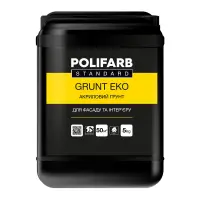
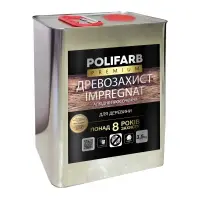
Choose the Right Primer For most interior jobs, use acrylic deep-penetration primer (for porous/loose bases) or universal primer. For highly absorbent walls — choose a concentrate and dilute per instructions. For colored topcoats, tint the primer close to the paint color.
Prepare the Mixture Stir the primer thoroughly (especially if it sat for a long time). If needed — dilute with water in the ratio on the package (usually 1:1 for the first coat on very porous surfaces).
Apply the Primer
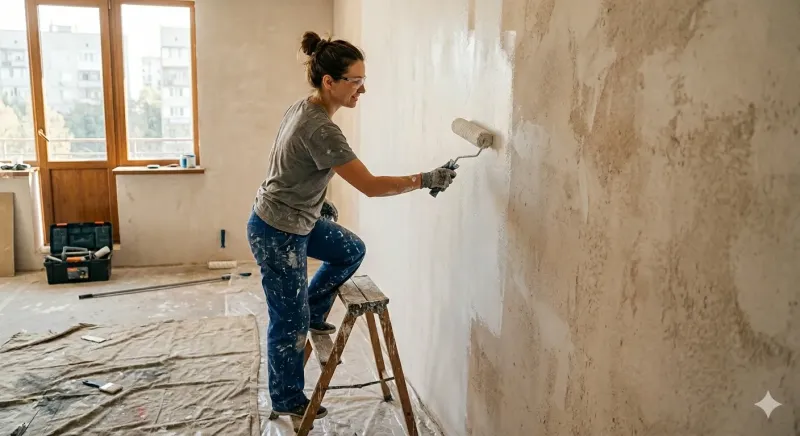
Tool: roller with short/medium nap for large areas, brush for corners, edges, and tight spots.
Apply evenly, without skips or runs. Work bottom to top (on walls) to avoid drips.
First coat — generously to soak in.
For very loose bases — apply 2–3 coats with 2–4 hours between (until previous is fully dry).
Consumption: usually 100–200 g/m² per coat (check the label).
Let It Dry Drying time: 2–24 hours (depends on primer, temperature, humidity). Do not paint sooner! Ideal conditions: +10…+25 °C, humidity ≤70–80 %, no drafts or direct sun.
Check Readiness Run your hand over the wall — it should not leave dust or white residue. If it does — re-prime.
Why Do Spots Appear After Priming and Painting?
Most common reasons:
Uneven Primer Application Thicker in some spots, thinner in others, or missed areas → different absorbency → paint goes on patchy.
Inconsistent Surface Absorbency Putty, concrete, old paint, drywall — all absorb differently. Poor priming highlights these differences.
Not Enough Primer Coats One coat on loose walls often isn’t enough — “hungry” zones remain.
Primer Not Fully Dry Wet primer changes absorbency → spots appear in 1–4 weeks.
Painting Technique Issues Too thick paint, work interruptions (paint dries unevenly), wrong roller, drafts, direct sun during drying, high humidity.
Efflorescence, Rust, or Mold Under the Layer If not treated beforehand — they show through over time.
How to Avoid Spots When Painting After Priming?
Always apply primer evenly, no skips or runs — smooth immediately with a roller.
Use 2 coats on inconsistent or porous surfaces.
Choose high-quality deep-penetration primer — it evens absorbency best.
Tint primer to match the topcoat color (especially for light shades) — it masks minor differences.
Follow painting rules: thin even coats, no long breaks on large areas, correct roller (medium nap for smooth walls), temperature +18…+25 °C, humidity ≤60 %.
Let each coat dry completely.
For very inconsistent walls — apply an extra “sealing” coat of diluted paint before finish coats.
Quick Checklist Before Painting
Wall cleaned and dust-free? ✓
Primer applied in 1–2 even coats? ✓
Fully dry (no residue on hand)? ✓
Paint well mixed, not too thick? ✓
Room conditions suitable (no sun, drafts, high humidity)? ✓
Follow these simple rules and you’ll get a smooth, beautiful finish without spots or rework. Priming isn’t an extra expense — it’s a savings of time, nerves, and paint in the long run.
Happy renovating!