


Can You Paint Over Whitewash?
Can You Paint Over Whitewash? Full Guide: When It’s Possible, When It’s Not, and How to Do It Right
One of the most common questions during renovations of old apartments and houses: “Can I paint with water-based (acrylic) paint directly over old whitewash without completely washing it off?”
The answer is yes, in most cases you can, but only with proper preparation and suitable materials. If you do it carelessly — within a few months the paint will start peeling, bubbles, flaking, and “scales” will appear. Below is a clear, proven step-by-step guide: when it works and when it’s better not to risk it.
When Painting Over Whitewash Is Possible and Usually Holds Well
The whitewash is thin, dense, and barely chalks Run your hand over the surface: if almost no chalk remains on your palm (or very little) — the surface is suitable for painting without removal.
The most reliable option — water-based (acrylic, latex) paint Modern acrylic formulations penetrate chalk and lime well, creating a strong binding layer. These are the paints most often used in such situations.
Mandatory condition for success — deep-penetration primer Without it, adhesion will be weak. The primer soaks into the remaining whitewash, glues it to the base, and creates a solid foundation for the paint.
If the whitewash layer is very thick or loose — it’s better to scrape off at least the most flaking areas with a spatula, then prime.
When Painting Over Whitewash Is Not Recommended or Very Risky
The whitewash heavily chalks (your hand turns completely white after touching), flakes off in layers → the paint will peel off in 3–12 months.
The surface is damp, moldy, sooty, or greasy → clean and treat with antiseptic first.
You plan to use oil-based or alkyd paint → it almost never adheres to whitewash.
Whitewash on glue base (rare, but occurs) → adhesion is usually worse.
Step-by-Step Instructions: How to Paint Over Whitewash Without Washing It Off (Working Method)
Inspection and Minimal Cleaning Run your hand over the entire surface. Scrape off loose and flaking areas with a spatula. If chalk falls off heavily — remove at least the most problematic spots (not necessarily down to concrete).
Priming — the Key Step Use acrylic deep-penetration primer. Apply with a brush (a roller doesn’t penetrate pores as well) in 2 coats with 2–4 hours between them. After full drying, the surface should not leave white residue on your hand.
First Coat of Paint — Sealing / Binding Coat Dilute the water-based paint with water by 10–15% (so it penetrates the remaining whitewash better). Apply a thin layer with a roller or brush. Let it dry for 4–8 hours. This coat “binds” the chalk and creates a solid base.
Finish Coats Apply 2–3 thin coats of undiluted (or lightly diluted per instructions) paint with 2–4 hours between coats. Work in thin, even layers — this gives the best result.
Helpful Tips
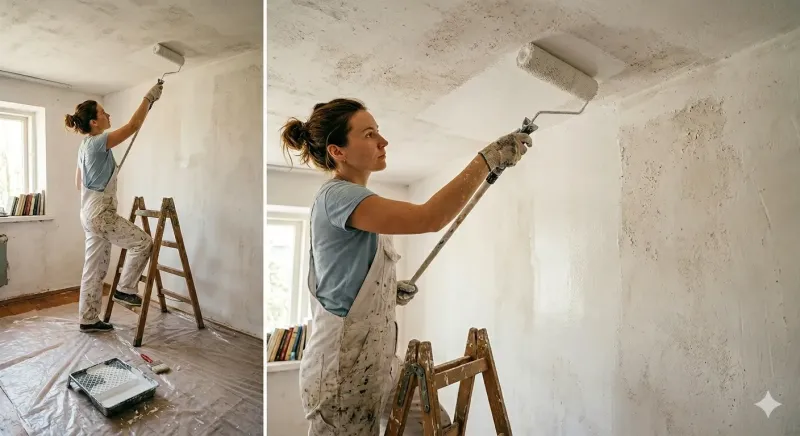
Start with the ceiling — less risk of drips and mess.
If a lot of chalk sticks to the roller — the primer didn’t penetrate enough → add another coat of primer.
For high-traffic areas (kitchen, hallway, children’s room) choose washable paint (class 1–2 abrasion resistance).
Work at +10…+25 °C and humidity not higher than 70–80%.
Short Summary
You can successfully paint over old whitewash with water-based acrylic paint if:
the whitewash doesn’t flake and barely chalks,
you applied 2 coats of quality deep-penetration primer,
you use modern, good-quality acrylic paint.
Want a result that lasts 10+ years without redoing — don’t skimp on primer and paint. If the whitewash is in very poor condition (flakes in layers, thick buildup) — it’s simpler and more reliable to spend time washing it off than to repaint twice later.
Need help choosing materials or calculating consumption? Write in the comments — we’ll suggest the best scheme!