
Secrets of a Durable Coating: Avoiding Common Painting Mistakes
Painting is not just about "applying color"; it is about creating a protective membrane. If this membrane is formed incorrectly, the surface begins to deteriorate from within: the paint peels, changes shade, or becomes a dirt magnet. In this article, we break down the "anatomy" of proper painting based on Polifarb material chemistry.
1. Adhesion: Why doesn't the paint "stick"?
Paint often peels not because it is low quality, but because the surface wasn't prepared.
Technical nuance: There is a concept of a "weak substrate." If chalky whitewash, dust, or grease remains on the wall, the paint will adhere to those particles rather than the wall itself.
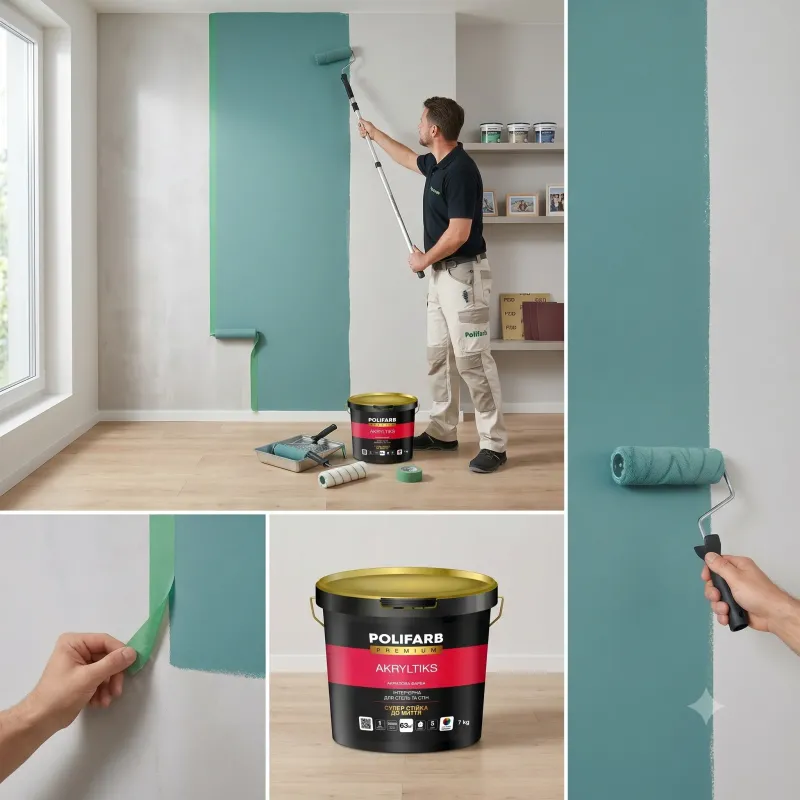
Solution: The "Tape Test." Apply a piece of masking tape to the cleaned surface and rip it off quickly. If plaster particles remain on the tape, the surface must be strengthened with a deep-penetrating primer.
2. Humidity and the "Dew Point"
If you paint a damp wall, the moisture trapped under the paint film will turn into vapor as it dries. This inevitably leads to bubbling.
Pro Rule: Indoor work should be performed at a humidity level no higher than 60-70%.
3. The "Wet Edge" Technique
The main issue when painting large areas is visible roller marks (seams).
Master Class: The secret to a smooth finish is to always work along the "wet edge." Never let the paint dry on the border of the section you just finished. Use a W-shaped application technique to distribute the material evenly.
4. Sanding — The Key to Aesthetics
Even the most expensive "silk-effect" paint will look cheap on an uneven wall.
Tip: After the first (leveling) coat, the surface often "raises the nap" (especially on plaster). Lightly sand the surface with fine-grit sandpaper (P240-P320) before applying the final coat.
5. Choosing the Right Tool
Acrylic paints: Require a roller with short or medium nap (nylon or microfiber).
Gloss enamels: Require a short-nap roller (velour) to avoid the "orange peel" effect.