









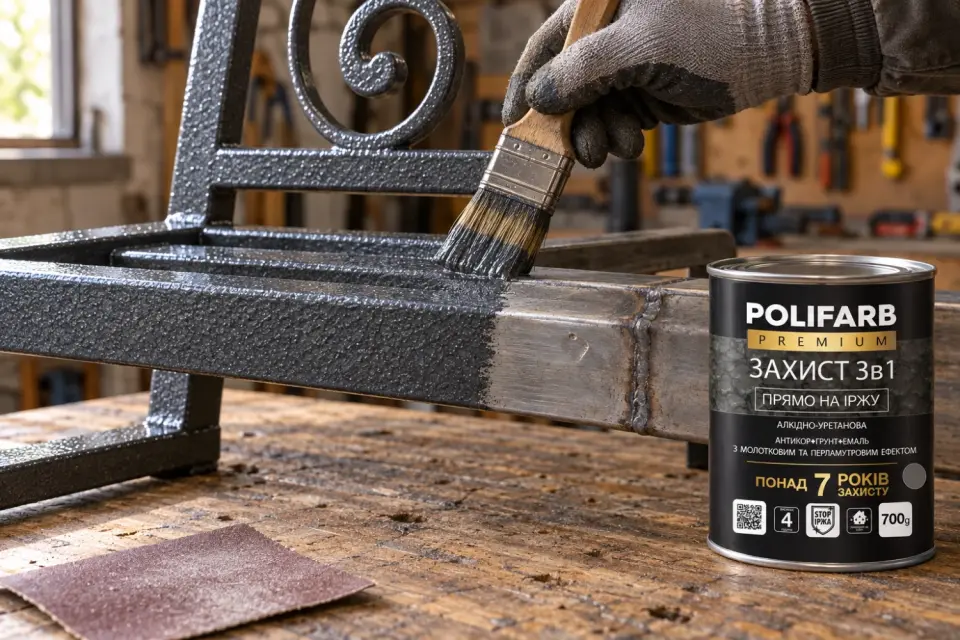
Hammer enamel is applied in 2–3 coats wet-on-wet, without waiting for the previous coat to dry completely: that is how an even, cratered texture forms. Below is the step-by-step process: metal preparation, thinning, tools, intervals between coats and the mistakes that make the pattern blotchy.
What alkyd-urethane hammer enamel is
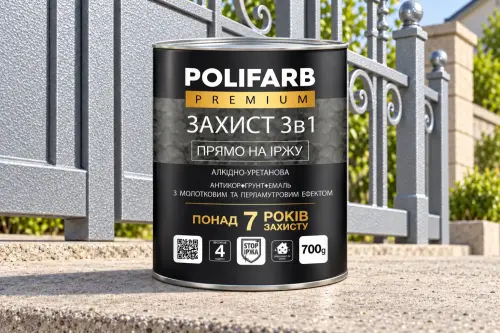
It is an anti-corrosion primer-enamel that dries into a textured finish with small craters and a pearlescent sheen, similar to wrought metal. Zahyst 3in1 hammer-effect anti-corrosion enamel combines rust protection, primer and topcoat, goes straight onto rust once the loose layer is removed, and works indoors and outdoors. Declared protection is over 7 years.
The texture breaks up reflections, so the eye does not pick up dents, weld marks or traces of old corrosion under the coating. A smooth gloss enamel on the same part would highlight every defect.
What you need
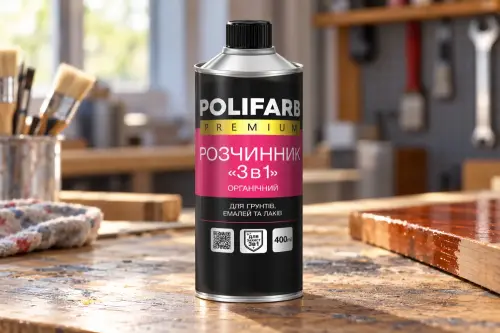
- hammer enamel and ROZCHYNNYK 3 in 1 organic solvent for thinning, degreasing and cleaning tools;
- a natural bristle brush, a short-nap roller (4–6 mm), a spray gun with a 1.4–1.8 mm nozzle, a narrow brush for corners;
- P80–P220 sandpaper and a wire brush;
- gloves, respirator, goggles; the area must be well ventilated.
Surface preparation
- Clean the metal of dirt, grease and oil, then degrease with solvent.
- Remove loose rust and flaking old paint with a wire brush and sandpaper.
- Sand firmly adhering old paint to a matte finish and test on a hidden spot to check compatibility.
- No separate primer is needed: the 3-in-1 enamel does that job itself.
- Check conditions: dry surface, air humidity no higher than 60 %, temperature +5…+30 °C (optimum +10…+25 °C).
How to thin hammer enamel
The enamel is supplied ready to use, but it is often thinned slightly for easier application:
- brush and roller: 0–5 % solvent;
- spray gun: about 10 %, to the consistency of thin cream.
First stir the enamel with a drill at low speed for 2–3 minutes, then add solvent in portions. Do not over-thin: excess solvent makes the film thinner, the craters form poorly and protection drops.
Application technique
Tools
- Brush gives the most pronounced relief. Apply in dense criss-cross strokes; good for small parts.
- Roller gives a smoother finish with less relief.
- Spray gun gives the most uniform craters and fewer streaks: 2–3 bar pressure, 20–30 cm distance, 50 % overlap.
Coat sequence
- Stir the enamel.
- Apply the first coat evenly over the whole part.
- After 10–50 minutes, before it dries completely, apply the second coat wet-on-wet.
- If needed, apply a third coat the same way for a richer texture.
- Do not try to put everything on in one thick coat: you will get runs and a weak effect.
Approximate consumption is 175 g/m² per coat. The paint consumption calculator will work out the amount for your area.
Drying time
- interval between coats: 10–50 minutes;
- tack-free: 4 hours;
- full film formation: 4–7 days; protect the coating from impact and abrasion until then;
- if the 10–50 minute window is missed, wait at least 4–7 days before the next coat.
Common mistakes
Mistake | Result |
|---|---|
Greasy or damp surface | peeling |
Previous coat fully dried | blotchy, uneven pattern |
One thick coat | runs, weak effect |
Excessive thinning | no craters, thin film |
Working in direct sun or heat | fast drying, streaks |
Temperature below +5 °C | slow drying, poor adhesion |
Where to use it
Metal structures, gates, fences, metal doors and furniture, safes, machine tools, tool cabinets and decorative metalwork: anything that stays in view and should look better than plain enamel. The full gate-painting process with a choice of coating systems is covered in how to paint metal gates without rust.
What to buy
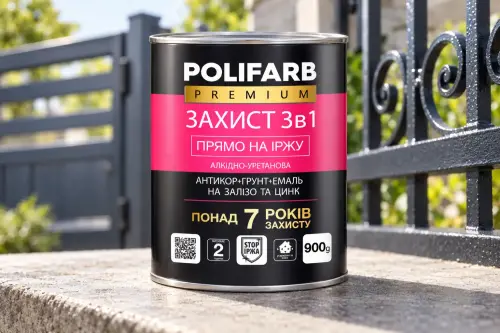
For a textured finish over rust, take Zahyst 3in1 Hammer Effect (nine shades, including gold, copper, sea green, blue and brown) and ROZCHYNNYK 3 in 1 for thinning and tool cleaning. If you need a smooth surface instead, choose the smooth Zahyst 3in1 primer-enamel; the differences and application are explained in the 3-in-1 paint guide.
FAQ
Do I need a primer under hammer enamel?
Not for Zahyst 3in1 Hammer Effect. It works as primer and rust protection; removing loose rust and degreasing is enough.
How many coats of hammer enamel?
2–3 coats wet-on-wet with a 10–50 minute interval.
What do I thin hammer enamel with?
An organic solvent such as ROZCHYNNYK 3 in 1: up to 5 % for brush or roller, about 10 % for spray. Water does not work.
Why didn't the hammer effect appear?
Usually because of over-thinning, a single thick coat or too long a pause between coats. If the 10–50 minute window is missed, the next coat must wait at least 4–7 days.