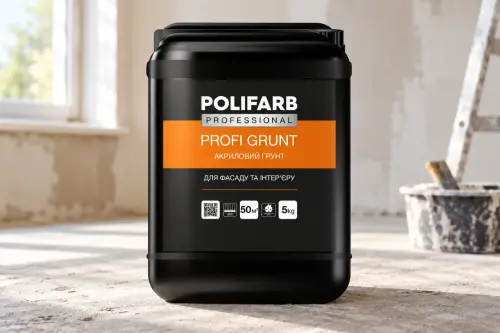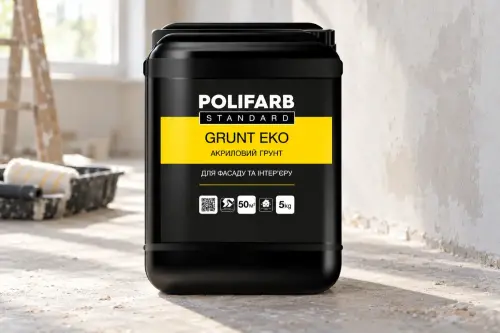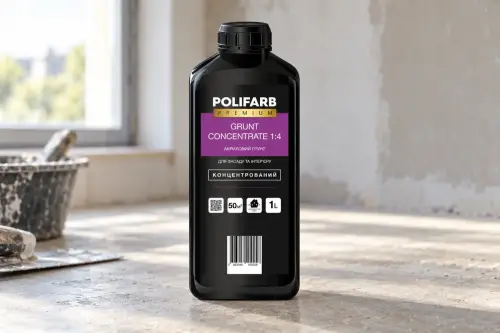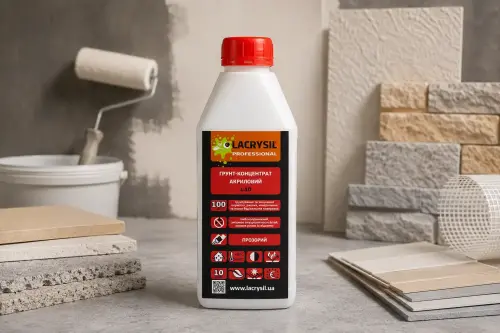









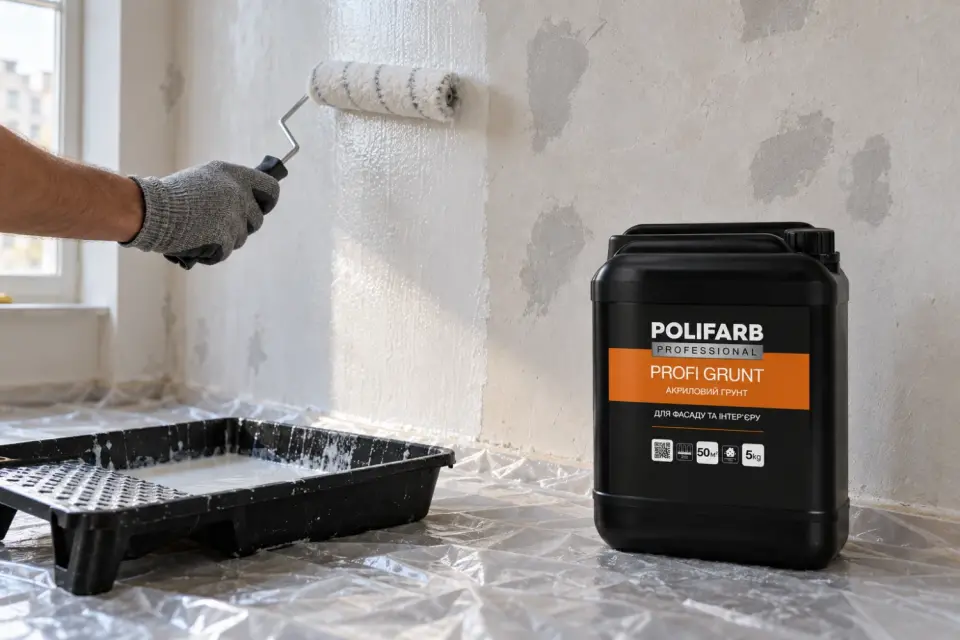
To prime walls properly before painting, match the primer to the substrate, apply it evenly without skips and let it dry completely. This is the stage where most patchy spots after painting begin. Below is the priming technique, how to choose a primer and why spots appear.
What primer does
- Strengthens the substrate by binding dust and loose particles of old filler or plaster.
- Evens out absorbency. Concrete, drywall, filler and old paint absorb moisture differently. Without primer the paint soaks in deeply in some areas and stays on top in others, so the colour looks uneven.
- Improves paint adhesion, so the coating does not crack or peel.
- Cuts paint consumption. Unprimed plaster drinks the first coat, and you end up applying three coats instead of two.
The full sequence before priming (cleaning, filling, sanding) is covered in the article on preparing walls for painting. This one is about primer only.
Which primer to choose for walls
Substrate | Primer | Notes |
|---|---|---|
Concrete, plaster, drywall in good condition | ready to use, one coat, 100–200 g/m² | |
Crumbling plaster, old filler, porous substrates | ready to use, penetrates deep into the layer | |
Large areas, mineral substrates | 2 l makes 10 l of solution, 100–200 g/m², one coat | |
Loose, highly absorbent walls, brick and concrete with efflorescence | 1:6 for crumbling substrates in 2 coats, 1:10 before paint; blocks efflorescence | |
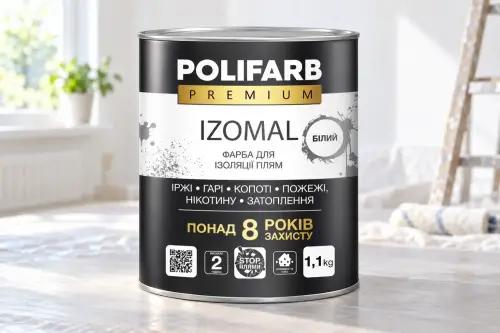
Dry stains from rust, leaks, soot | used on the stain instead of regular primer, dries in 2 hours |
How to prime walls: step by step
- Prepare the surface. Remove dust and dirt, degrease spots with white spirit or a dedicated cleaner, scrape off flaking paint or filler. Treat mould with an antiseptic. After sanding, sweep the dust off with a dry brush or vacuum.
- Prepare the primer. Stir it thoroughly, especially if it has been standing for a long time. Dilute concentrates with water only at the ratio on the label: GRUNT CONCENTRATE 1:4 takes four parts water to one, primer concentrate 1:10 is used at 1:10 before paint or 1:6 for crumbling substrates. Ready-to-use primers are not diluted.
- Apply. Use a short or medium nap roller for open areas and a brush for corners, joints and tight spots. Work from bottom to top, without skips or runs. Apply the first coat generously so the substrate soaks it up.
- On loose substrates apply a second (and if needed a third) coat once the previous one is fully dry, usually after 2–4 hours.
- Let it dry. Depending on the product, temperature and humidity this takes 2 to 24 hours. Conditions: +10 to +25 °C, humidity no higher than 70–80 %, no drafts or direct sun.
- Check readiness by running your palm over the wall. Dust or white residue on your hand means the wall needs another coat of primer.
PROFI GRUNT and GRUNT CONCENTRATE 1:4 are milky white, so missed areas are easy to spot before the primer dries.
Why spots appear after priming and painting
- The primer went on unevenly: thicker in some places, skipped in others. Absorbency differs, and the paint looks patchy.
- The substrate is mixed: filler, concrete, old paint and drywall absorb differently, and weak priming does not hide that.
- One coat of primer on a loose wall is not enough, and "hungry" zones remain.
- The primer was not dry. Damp primer changes absorbency, and spots show up after 1–4 weeks.
- Painting technique: paint too thick, breaks in the middle of a wall, wrong roller, drafts, direct sun, high humidity.
- Efflorescence, rust or mould under the coating that was not treated beforehand.
How to avoid spots
- Roll out the primer straight away, leaving no runs or skips.
- Apply 2 coats of primer on mixed or porous walls.
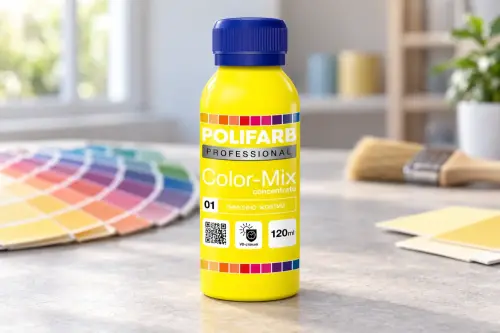
- Under a coloured topcoat you can tint the primer with COLOR-MIX universal pigment: it works in primers too, so small differences in the base tone will not show through.
- Paint in thin even coats without stopping in the middle of a wall, using a medium nap roller. Best painting conditions are +18…+25 °C and humidity up to 60 %. The technique is described in detail in the guide on how to paint walls and ceilings.
- On a very uneven wall, apply a sealing coat of diluted paint before the finish coats.
Checklist before painting
- The wall is clean and dust-free.
- Primer went on evenly in 1–2 coats.
- Primer is fully dry and does not rub off on your hand.
- Paint is stirred and not too thick.
- The room has no direct sun, drafts or high humidity.
What to use: GRUNT EKO for ordinary walls, PROFI GRUNT for crumbling and porous ones, the 1:4 concentrate for large areas, IZOMAL for stains. If the ceiling or wall has old chalk whitewash, first read whether you can paint over whitewash.
FAQ
How many coats of primer should a wall get?
One coat on a dense, even substrate. Two on porous, loose or mixed walls, and sometimes three on very loose ones, each after the previous coat has dried.
How long should primer dry before painting?
From 2 to 24 hours depending on the product, temperature and humidity. The wall is ready when it is dry to the touch and leaves no residue on your palm.
Can primer be diluted with water?
Concentrates are diluted strictly as the label says (1:4, 1:6, 1:10). Ready-to-use primers such as GRUNT EKO and PROFI GRUNT are applied undiluted.
Why is the wall patchy after painting even though it was primed?
Most often the primer went on unevenly, there was too little of it on porous areas, or the paint went over damp primer. Also check for rust or leak stains: these are covered with IZOMAL, not with primer.